After Hip Replacement: Using Your Walker
After hip replacement, you’ll likely use a walker to get around while you recover. There are a fewtypes of walkers:
-
The standard nonrolling walker
-
The 2-wheeled (front) rolling walker
-
The 4-wheeled rolling walker
Your physical therapist (PT) or occupational therapist (OT) will teach you how to use a walker safely and help you choose the best one for you. Later, you may change from a walker to crutches or a cane.
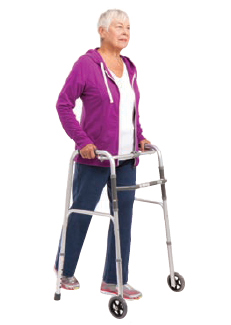
Using a walker
-
Move the walker a few inches in front of you.
-
Lean on the walker so it supports you. Step into the center with your operated leg. Then step forward with your good leg. Repeat.
-
As you get more comfortable, you’ll be able to move the walker as you step.
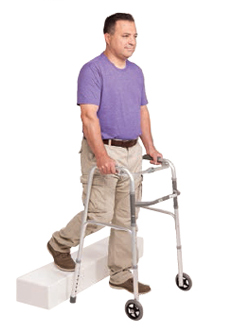
Walking up a curb
-
Move your feet and walker as close to the curb as possible.
-
Put your weight on both legs, and then lift the walker onto the curb.
-
Step on the curb with your good leg. Using the walker to support your weight, bring up your operated leg.
Walking down a curb
-
Move your feet and walker as close to the curb as possible.
-
Lower the walker onto the ground, keeping its back legs against the curb.
-
Using the walker to support your weight, lower your operated leg. Then step down with your good leg.
Online Medical Reviewer:
Raymond Kent Turley BSN MSN RN
Online Medical Reviewer:
Thomas N Joseph MD
Online Medical Reviewer:
Trina Bellendir PT
Date Last Reviewed:
10/1/2021
© 2000-2024 The StayWell Company, LLC. All rights reserved. This information is not intended as a substitute for professional medical care. Always follow your healthcare professional's instructions.